Build a CMS React theme locally on HubSpot’s developer platform, preview local changes in your browser, and deploy to your HubSpot account to start creating web content. Unlike traditional HTML + HubL, CMS React themes support modern React components, TypeScript, and an updated suite of build tools. Following this tutorial, you’ll use the HubSpot CLI to create a theme with React components and compatible templates, which you can use to create web content with via HubSpot’s visual editor. Along the way, you’ll learn how to use the local development server to preview your local changes before uploading.Documentation Index
Fetch the complete documentation index at: https://developers.hubspot.com/docs/llms.txt
Use this file to discover all available pages before exploring further.
Prerequisites
Before getting started, you’ll need:- A HubSpot account. It’s recommended to create a CMS Sandbox account, where you can create test accounts for safer iteration.
- Node.js 18+ installed locally. It’s recommended to use a package manager like Homebrew or nvm to install Node.
- Basic familiarity with React and running terminal commands.
- HTML, HubL, and React. Some knowledge of TypeScript may also be helpful.
- Using the command line to run commands locally. When developing locally with HubSpot, you’ll use the HubSpot CLI, which this guide will walk through installing.
Create a project
Project setup
- Using the terminal, navigate into the local directory where you’ll be storing your project (e.g.,
/Dev/Themes/newProject).
- Run the setup script, which will:
- Generate a JavaScript-based HubSpot theme with sample components
- Install the latest version of the HubSpot CLI (if not already installed)
- Install all necessary dependencies
- Authenticate with your HubSpot account to connect it to the HubSpot CLI
- Follow the prompts in your terminal to proceed through the setup.
Authenticate your account
During the authentication step, the terminal will prompt you to provide the personal access key of the HubSpot account you want to upload to. You can select to either open a browser window to the personal access key page of your account, or enter the value directly.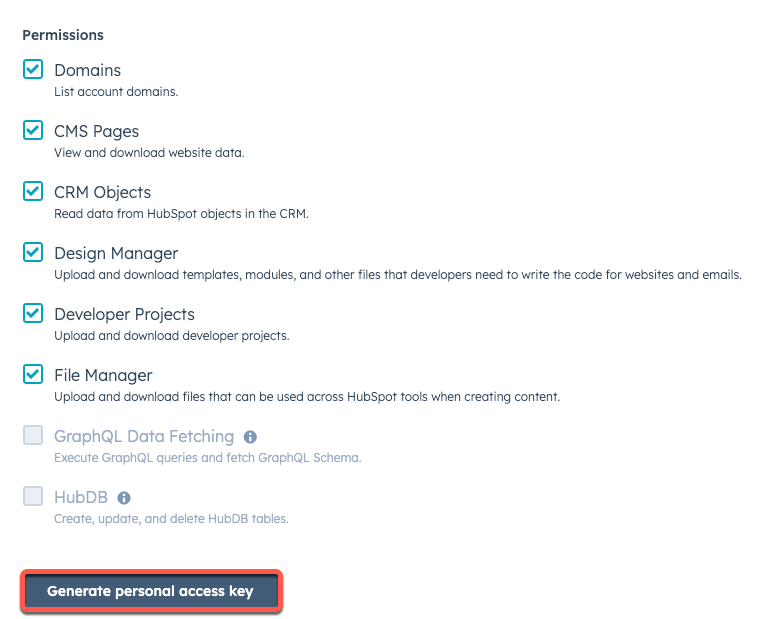
- If you haven’t created a personal access key yet, select Open HubSpot to copy your personal access key.
- In the browser window, ensure all permissions checkboxes are selected.
- Click Generate personal access key.
- In the Personal Access Key section, click Show, then Copy, then paste your key into the terminal.
~/.hscli/config.yml file will be created in your home directory, and will look similar to the example below:View starter theme files
With the setup script complete, your working directory should be structured as follows:At a high level, the key project components to note are:
hsproject.json: at the root of the project, this file configures the project and allows the CLI to recognize it as a project.src/theme/: the theme component of the project, equivalent to thesrc/app/directory for apps developed via projects.theme-hsmeta.json: configures the project’s theme component, including theuidand path of the directory that contains your theme assets.my-theme/: the directory that contains all CMS assets and thetheme.jsonconfiguration file.
Start local development
Run the development server
With your theme created locally, you can run the local development server to preview theme assets as you iterate before uploading.
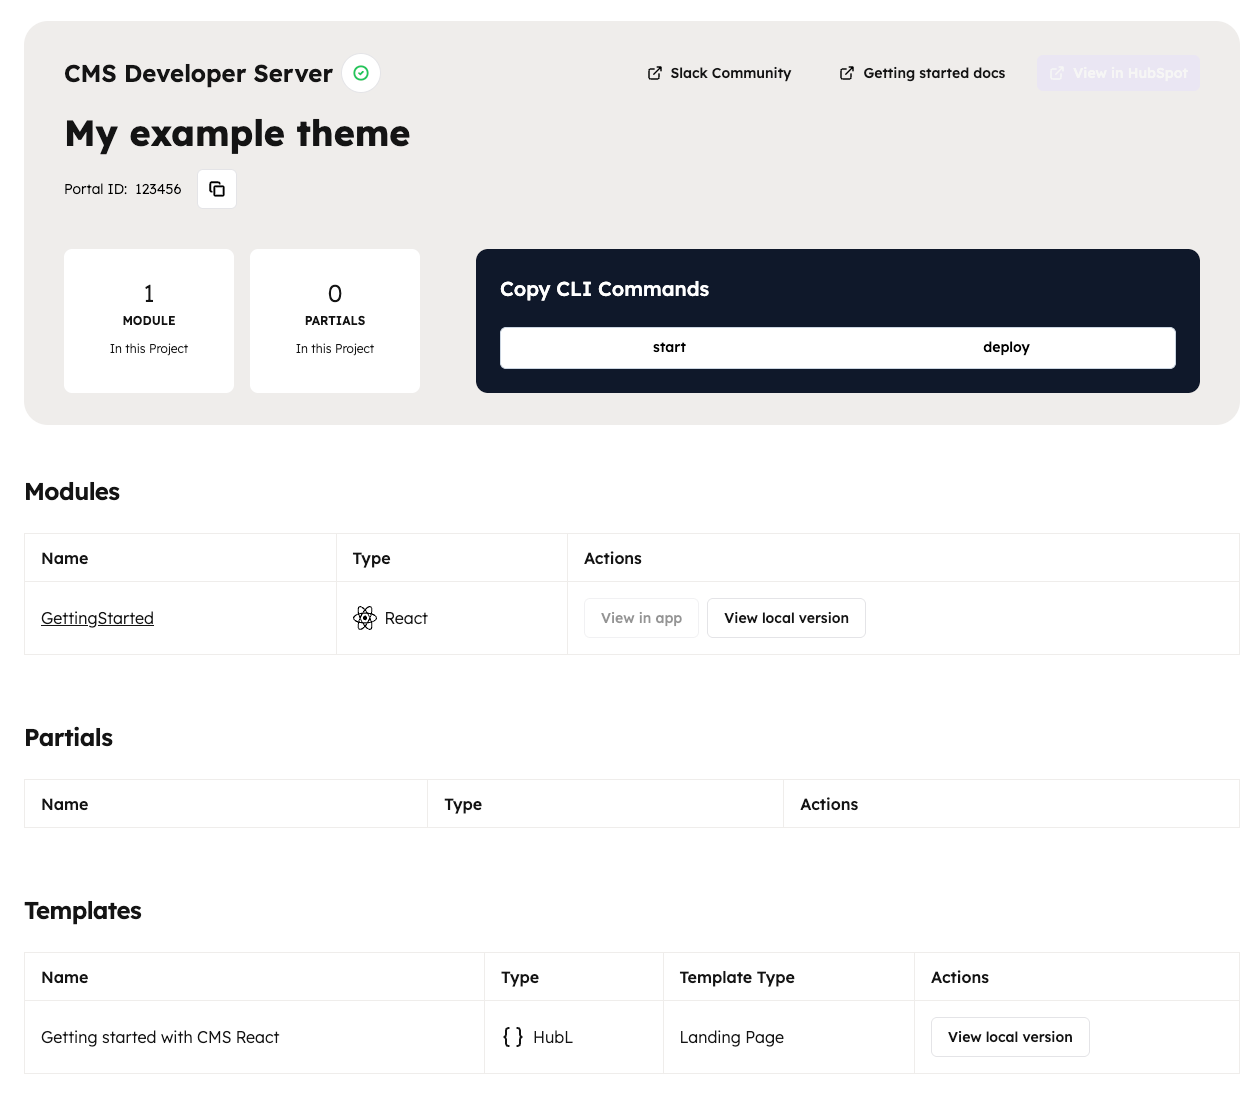 At the top of the page, you can view a summary of the assets that are available to preview in your project. For this example, you’ll see one module listed.
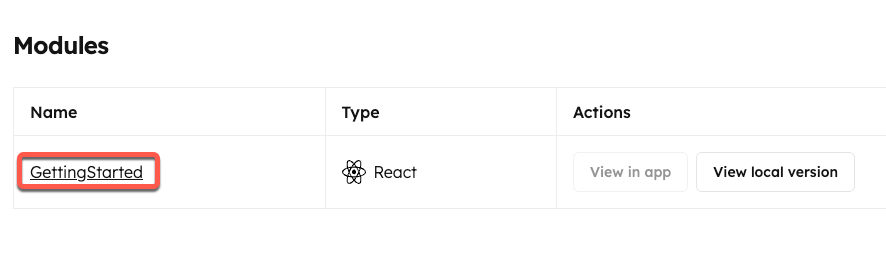
- In the terminal, navigate into the project directory that was created by the setup script.
- Start the local development server with the
npm run startcommand.
- Open the URL in the browser to view the local development server page.
- To quickly view the details of a module, including its local path and
fields.jsoncode, click the name of the module, then review its details in the right sidebar.
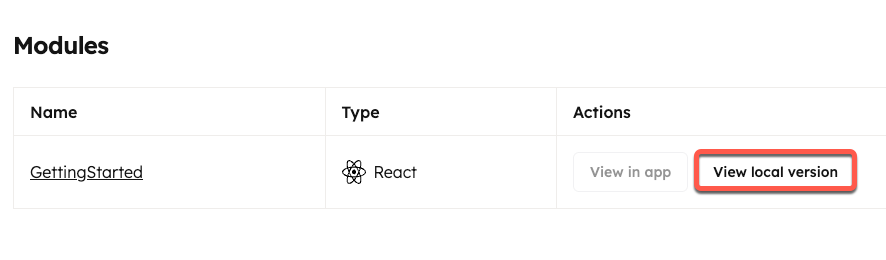
- To preview the module, click View local version. A new browser tab will open containing a preview of the module.
Start making changes
With the local development server running, the local version preview will automatically update when you save code changes. As an example, make a change to the module’s styling and view how it updates the module preview: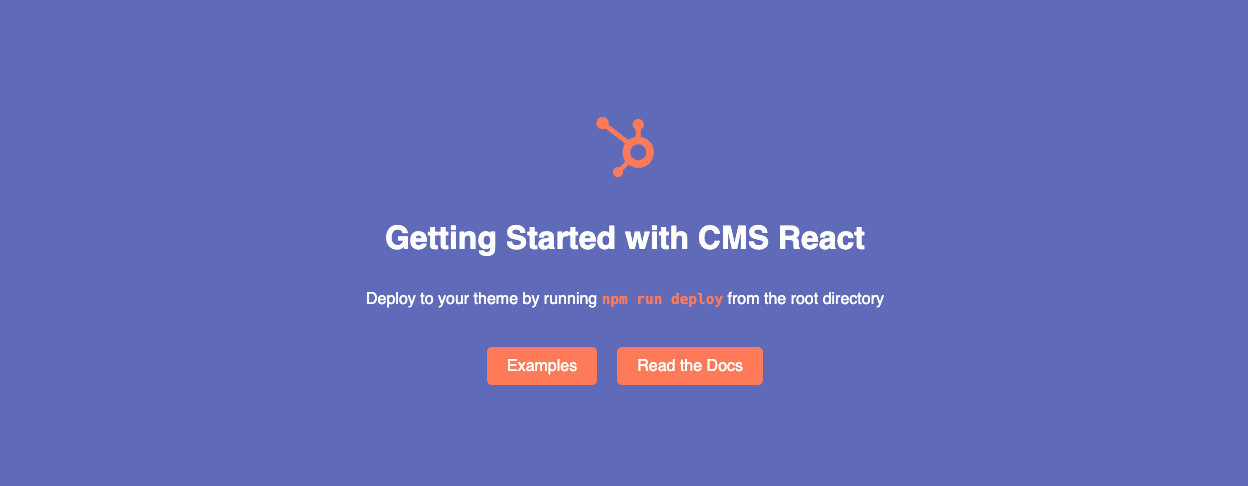
- In your local editor, open the
getting-started.module.cssfile in/src/theme/my-theme/styles. - Note that the
.wrapperdeclaration block contains abackground-colorrule with a value ofvar(--accent-color). This is the rule you’ll need to update in order to change the module’s background color. - In the
:rootdeclaration block at the top of the file, add a new custom color variable of--custom-color:#5e6ab8.
- In the
.wrapperdeclaration block, update thebackground-colorrule to use the new color variable.
- With the module preview open, save your changes. On save, the browser will automatically refresh and display your updated styling.
Upload to HubSpot
Run the upload command
Upload your project by running the project upload command.After the project builds and deploys to your account, the terminal will confirm that the project has been successfully uploaded. Note that, by default, HubSpot auto-deploys projects after a successful build. You can turn this off in the project settings in HubSpot if you’d prefer to manually deploy with the
hs project deploy command.View the project in HubSpot
Run the command below to open the project in HubSpot, where you can view its initial build and deploy history, project settings, and more.The project overview page will then open in your browser.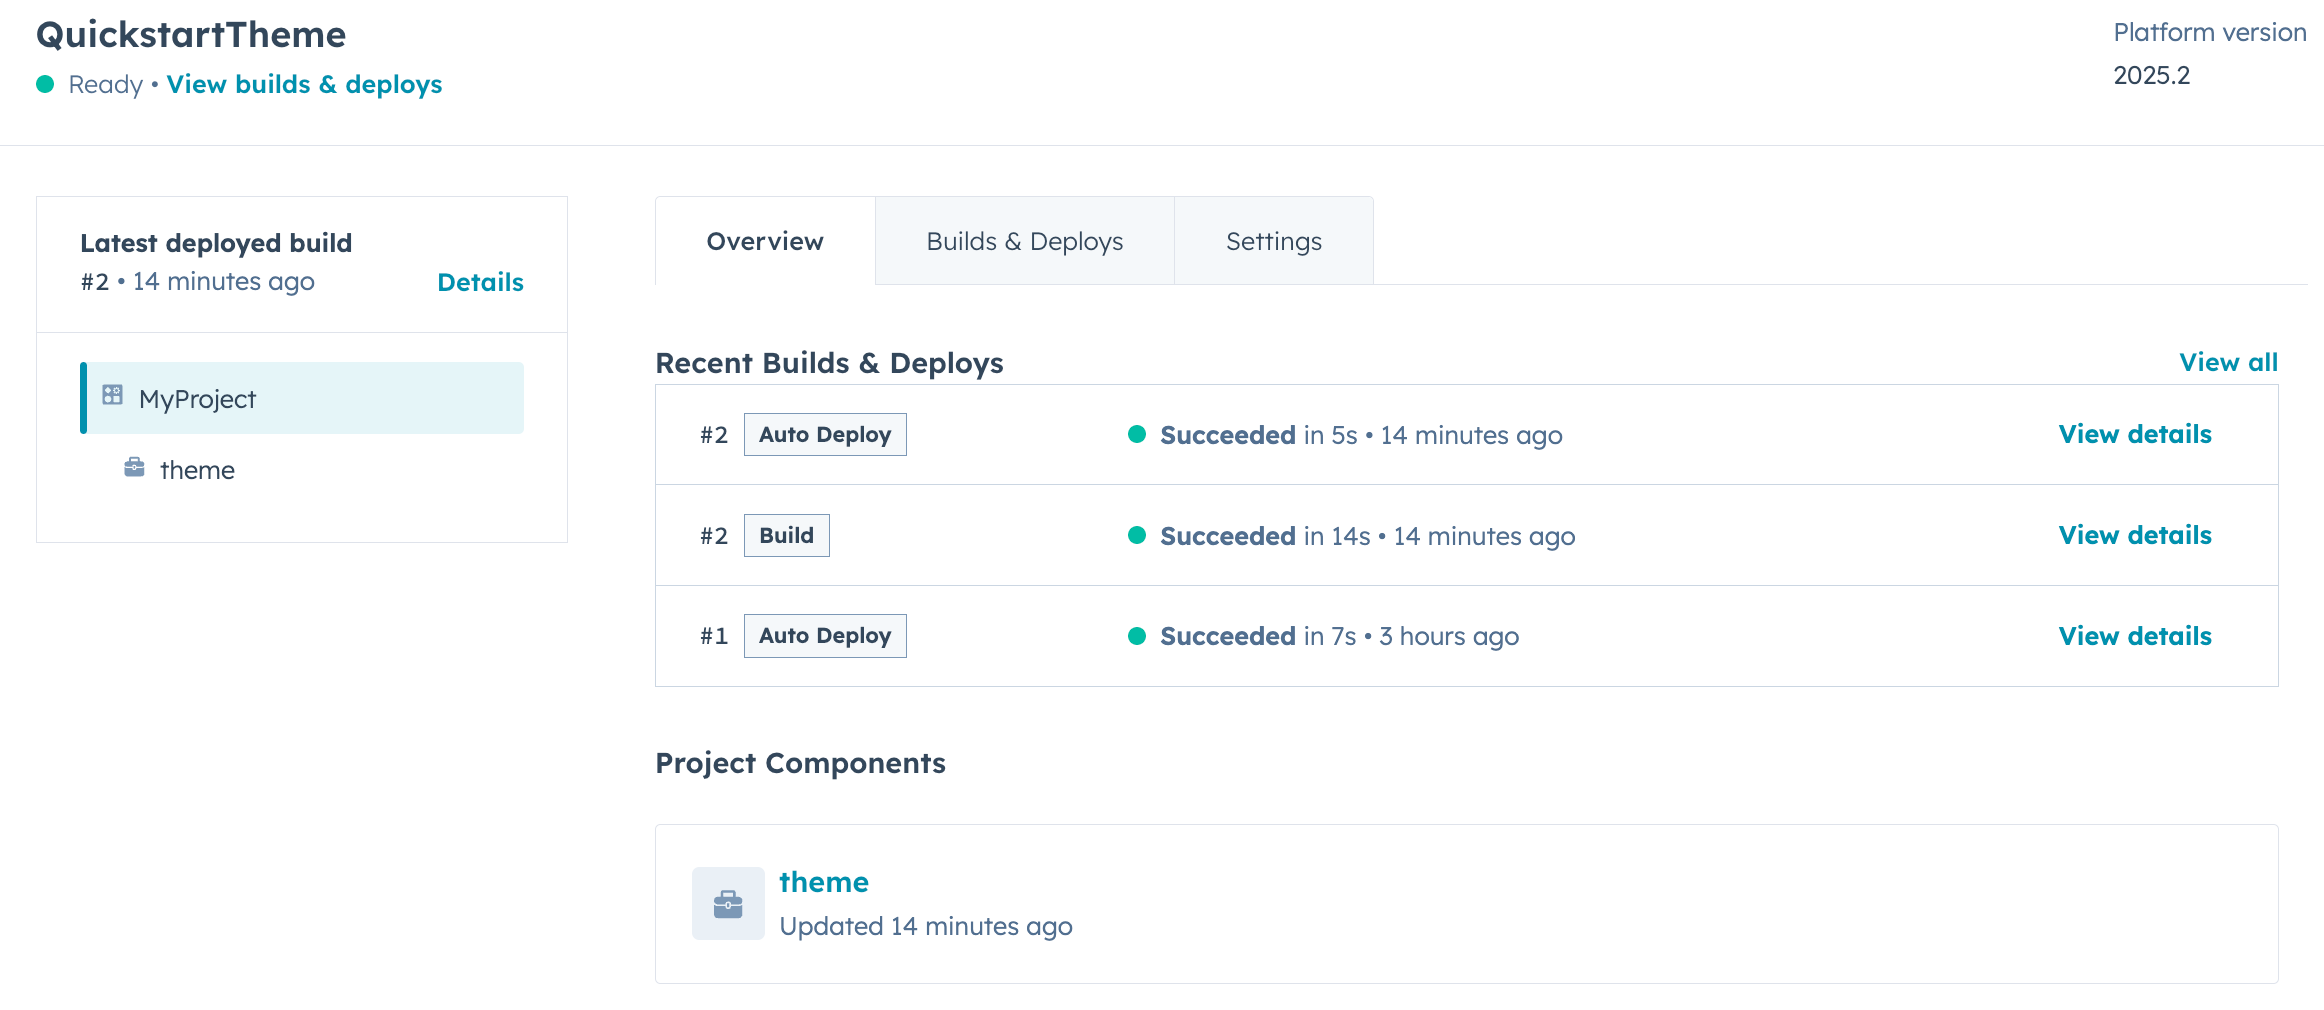
- On the Overview tab, view an overview of the current state of the project along with recent activity.
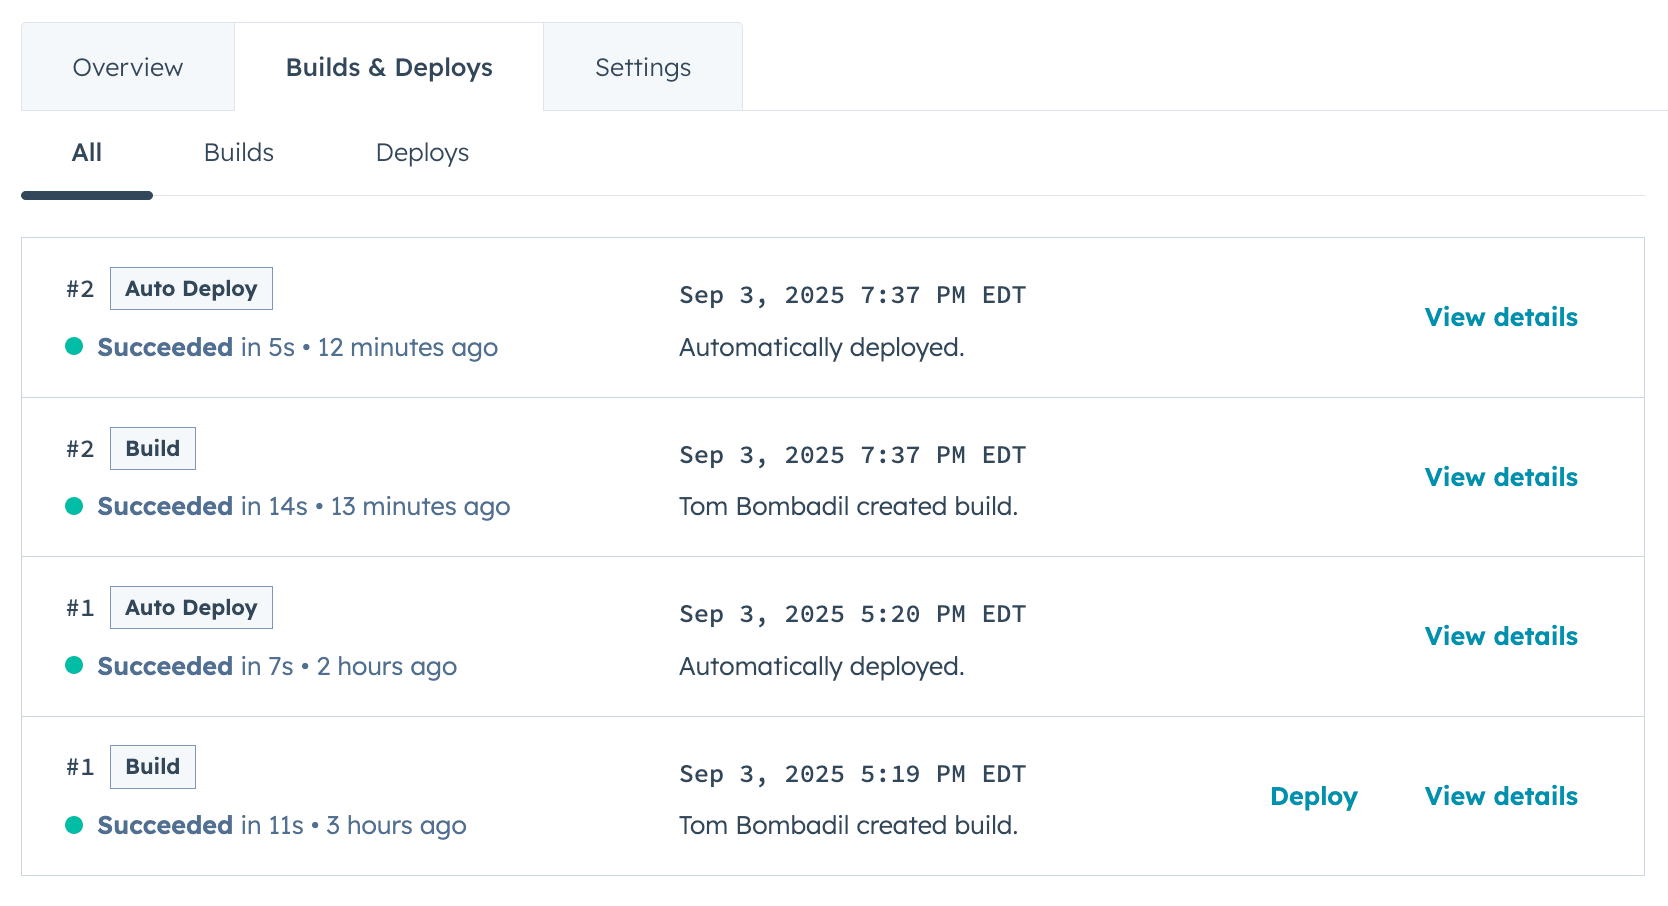
- On the Builds & Deploys tab, view a full history of builds and deploys. You can click View details to see more information about each activity.
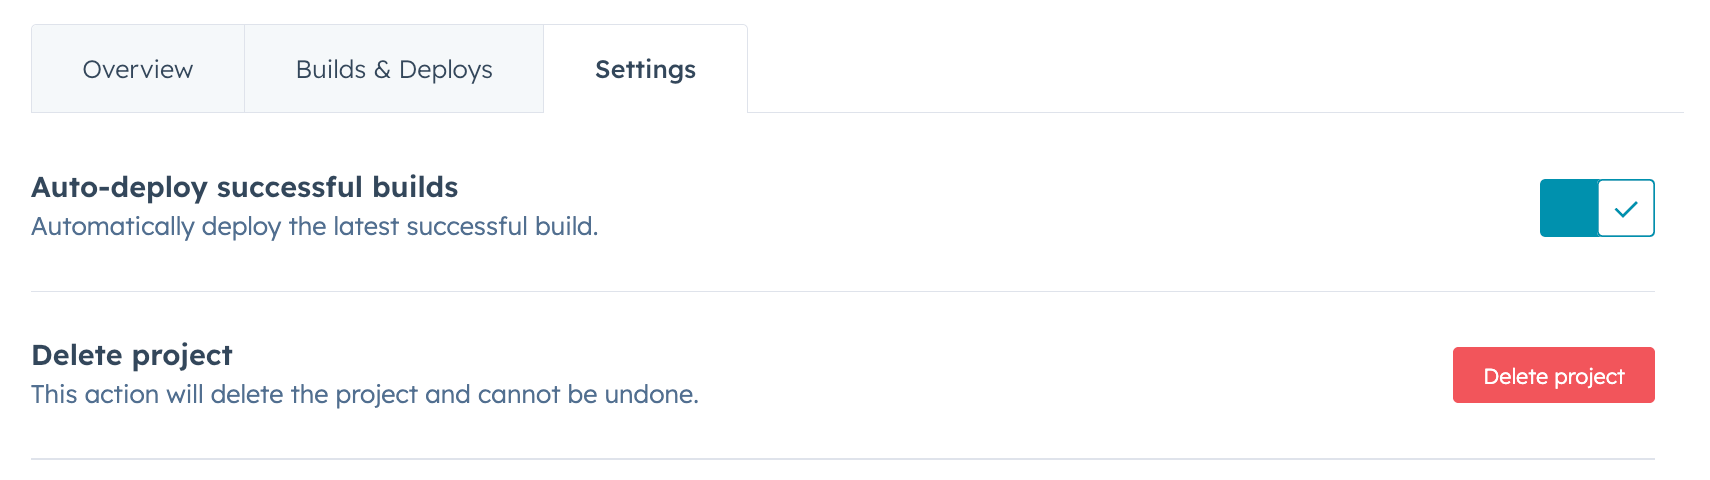
- On the Settings tab, you can manage project settings such as auto-deploy and GitHub repository linking, as well as delete the project.
Create a page
To create a page using your theme: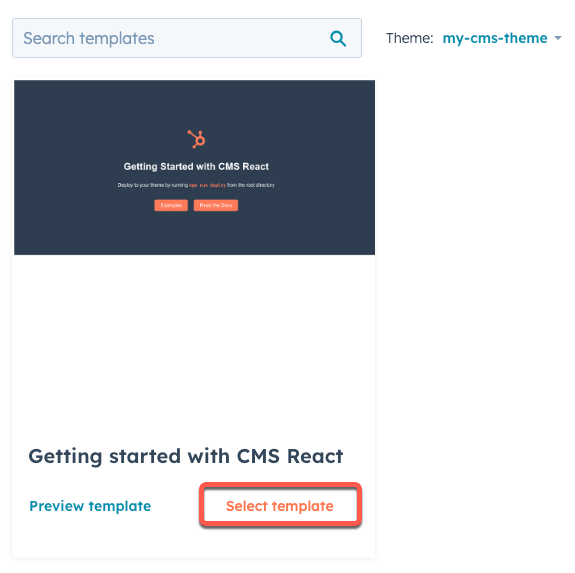
 You’ll then be brought to the page editor where you can continue editing the page content before publishing the page.
- In your HubSpot account, navigate to Content > Website Pages.
-
If you’re working in a new account:
- Click Start from scratch, then locate the theme that you just uploaded and click Set as active theme.
- Next to the Getting started with CMS React template, click Select template.
- If you’re working in an existing account with a theme already selected:
- In the upper right, click Create.
- In the dialog box, enter a name for the page, then click Create page.
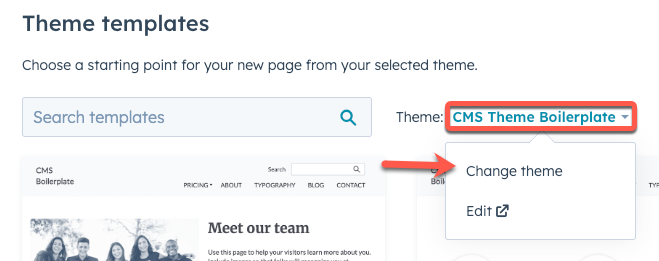
- On the Choose a template page, click the Theme dropdown menu, then select Change theme.
- Locate the theme you just uploaded, then click Set as active theme.
- Next to the Getting started with CMS React template, click Select template.
Next steps
Having successfully uploaded the starter theme to your account, you can continue to make changes locally, then build and deploy using thehs project upload command. To learn more about developing on the HubSpots CMS, check out some of the following resources: